|
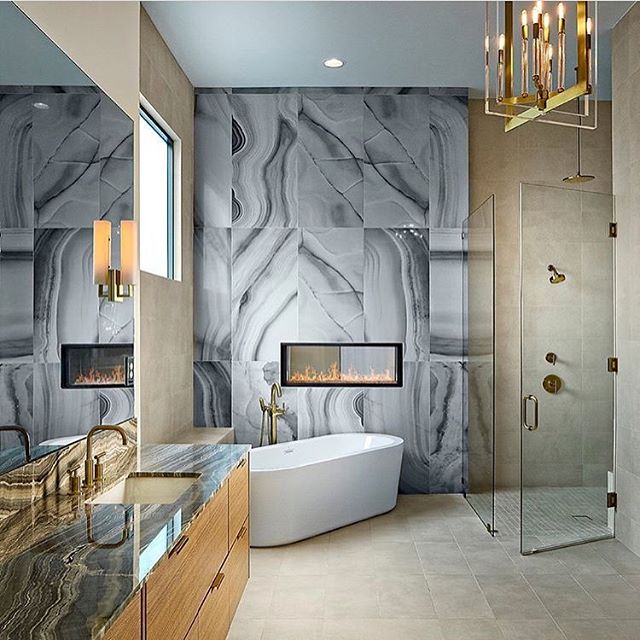
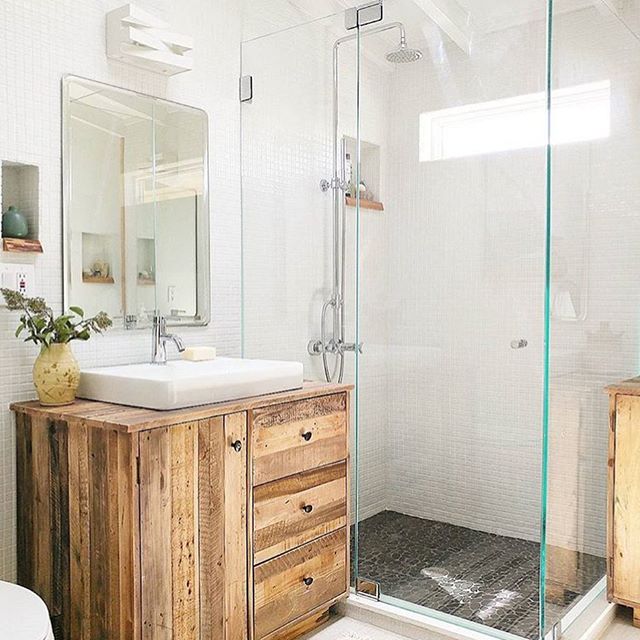
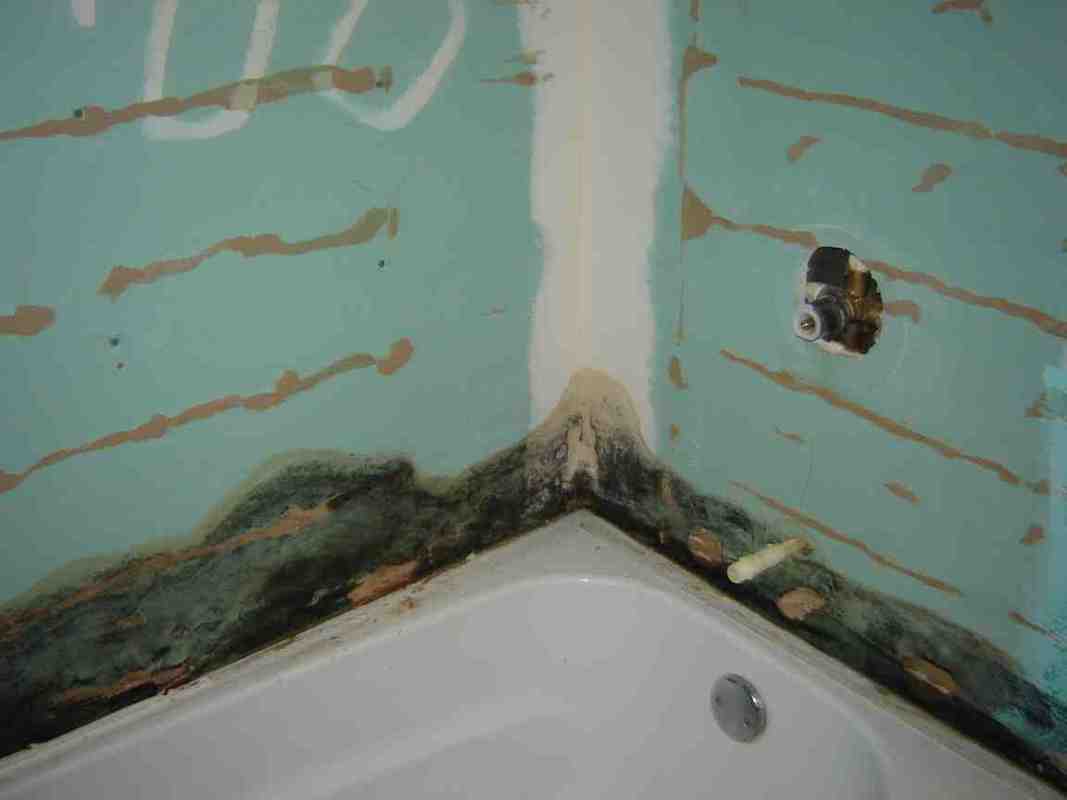
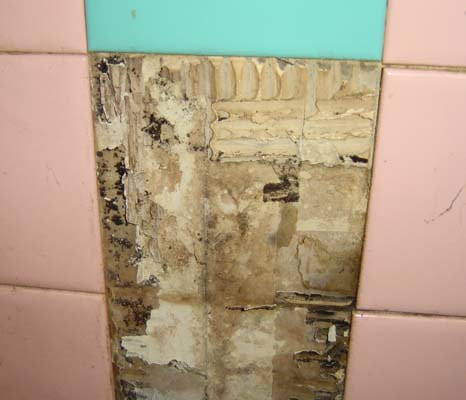
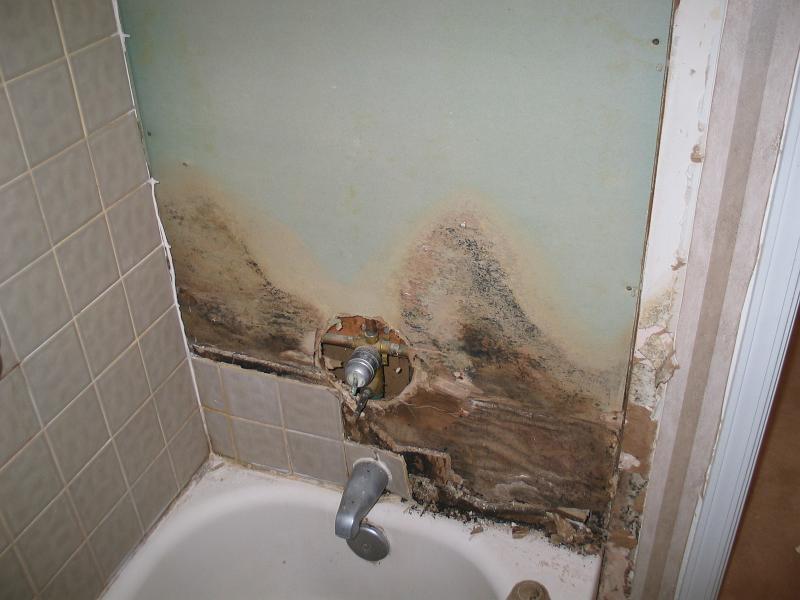
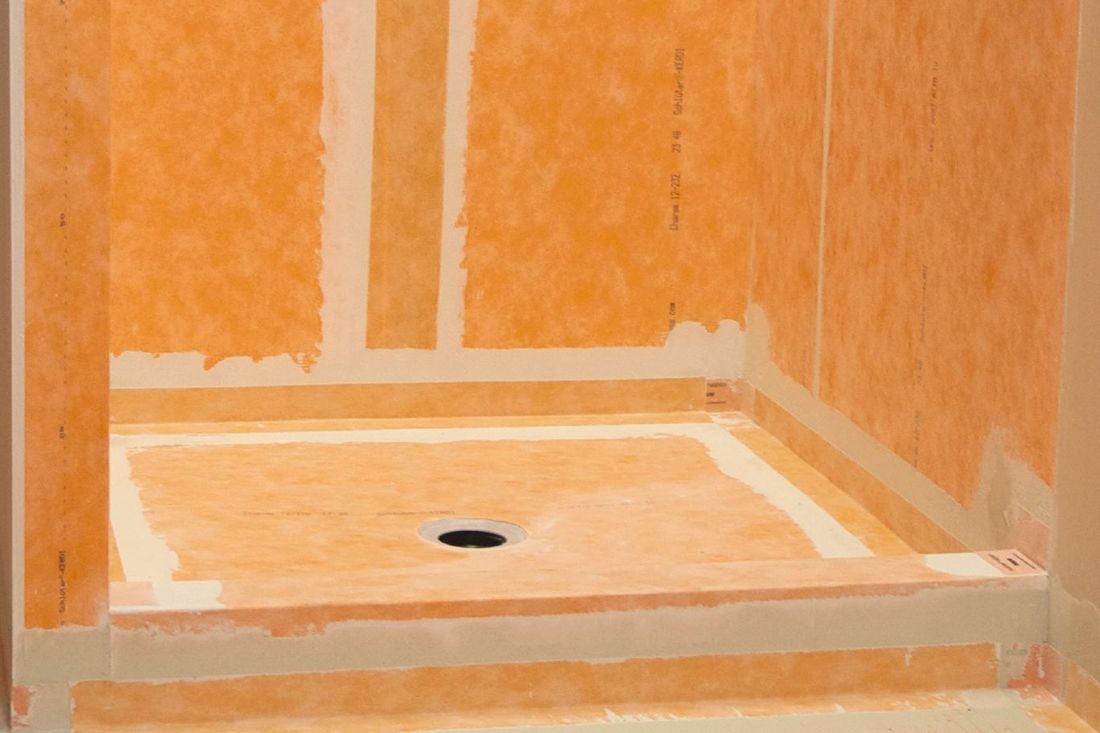
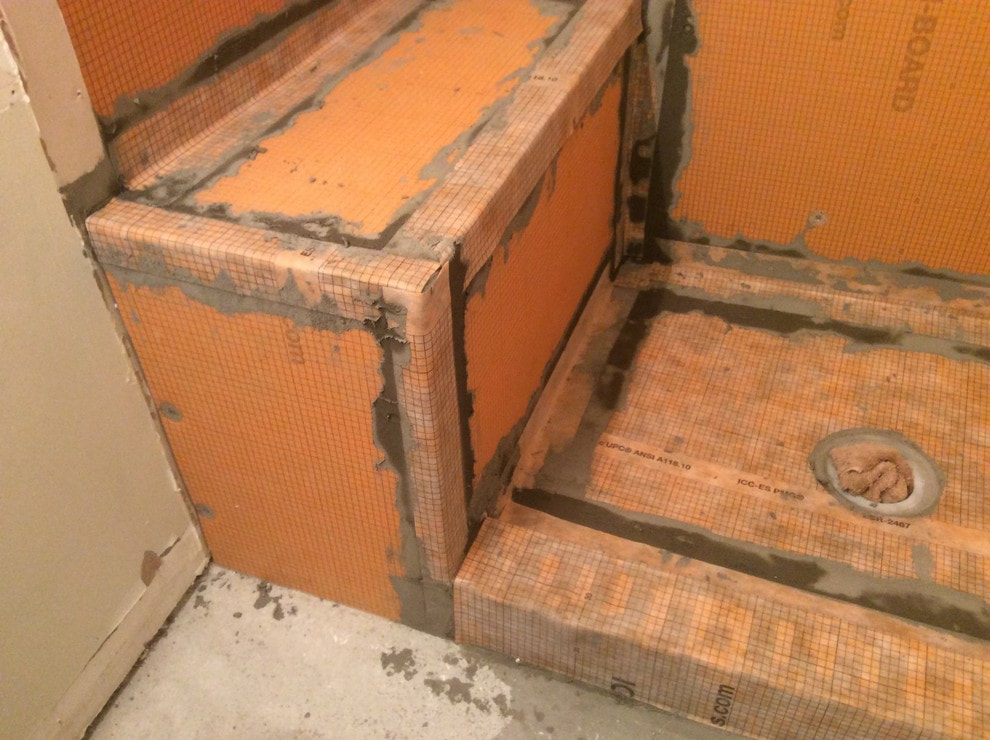
Let's talk about bathroom waterproofing. I was at the Schluter-Kerdi training centre in Vaughan yesterday for a hands-on demo of their product line. If you're a Type A renovator - or a Virgo - you may already be familiar with their brand. But if you're of the Pinterest and Houzz persuasion (all about the inspiration!) then this post is for you. It's not a pretty subject, granted. So I included a few swoon-worthy photos to keep you interested while we discuss vapour barrier and the stuff that goes behind gorgeous tile work. Did you know that the average person showers for 12 minutes each day? And that the total water used in that single shower over the course of a year is 35 times greater than the annual rainfall of Vancouver? It's a lot of water - and steam - in a confined space. Traditional construction materials - plywood subfloors, wood studs and drywall - are susceptible to damage from moisture. Add warm temperatures and a food source (shampoo and soap) to moisture and mould happens: Blue drywall, which you can see above, is commonly used in bathrooms. It is more water resistant than regular drywall but, as you can see here, it is not waterproof. Water and steam penetrate grout, pool along the edge where the tub meets the tile wall and doesn't evaporate fast enough from humid bathrooms to prevent it from saturating and eventually getting behind or underneath your tile. Honestly, I would run a mile from any contractor who specified blue drywall in a bathroom project instead of a fully-sealed and waterproof system like Schluter - and so should you. It is marginally more expensive, but I'd pay $200 for peace of mind. This orange material is the waterproof Schluter membrane that goes directly behind the tile. It's a flexible, sort of plasticized fabric that was engineered for moisture wicking and quick evaporation. Water beads on its surface rather than penetrates. It is sold in sheet form and is made to wrap and overlap over every part of the shower, as you can see in the installation above. There are many different components and applications but what you need to know is a 100 SF of this material retails for $238. It is not expensive. It is not labour intensive to install. Your contractor shouldn't balk or charge a premium because in fact it is faster to install, so you can argue in favour of the labour cost savings. Schluter offers free one-day training seminars on correct installation and application of their product for tile setters and contractors. Ask your trades person if they have taken the Schluter course because the product and its warranty is only as good as the installation, as this homeowner on Houzz discovered: This homeowner had concerns about the way the installation was looking but was worried about asking her contractor about his work. She posted her reno pictures to a bulletin board on Houzz for advice from pros. The consensus was that this was not a proper installation and that the homeowner should contact Schluter directly for the specific deficiencies. It's overwhelming for a novice renovator. How closely do you supervise trades? And how do you even know what to look for?
If you're renovating a bathroom make sure your contractor has taken the Schluter installation course. My best advice is to hire the best people. Seek out contractors and trades who are certified in their industry and who belong to professional associations. Every industry from tile setting to plumbing has one. Contractors (and designers!) with integrity insist on doing work with building permits and know the building code. Don't be afraid to ask questions before you hand over the keys to your house. Good people appreciate working with knowledgeable homeowners.
0 Comments
Leave a Reply. |
 RSS Feed